How to alter a dance costume safely
Altering a dance costume can improve comfort, confidence, and stage presence without the cost of buying a new piece. Whether you need to shorten straps, refine a waistline, add coverage, or repair a loose embellishment, a careful approach protects both the garment and your freedom of movement. Work slowly, test every adjustment while moving, and keep reversibility in mind whenever possible.
Start by assessing the costume and the performance demands
Before picking up a needle, inspect the costume under good lighting. Look at the construction, fabric grain, seam allowances, lining, elastic, closures, appliqués, and decorative stones. A leotard made from stretch lycra needs a different method from a chiffon skirt, a tutu, or a sequinned jazz costume.
Consider how the costume will be used. A garment for a lyrical solo may allow flowing panels and softer finishes, while a fast-paced competition routine needs seams that remain secure through turns, jumps, floorwork, and repeated changes backstage.
Fabric choice affects every alteration. If you are unsure whether a fabric can be cut, stitched, or heat-treated safely, read How to choose the right fabric for a dance costume before making permanent changes. Some synthetics can melt under excessive heat, while mesh and powernet can develop holes if unpicked too aggressively.
Take photographs before you begin. They provide a useful reference if you need to restore the original shape or compare both sides of the costume.
Take accurate measurements before changing the fit
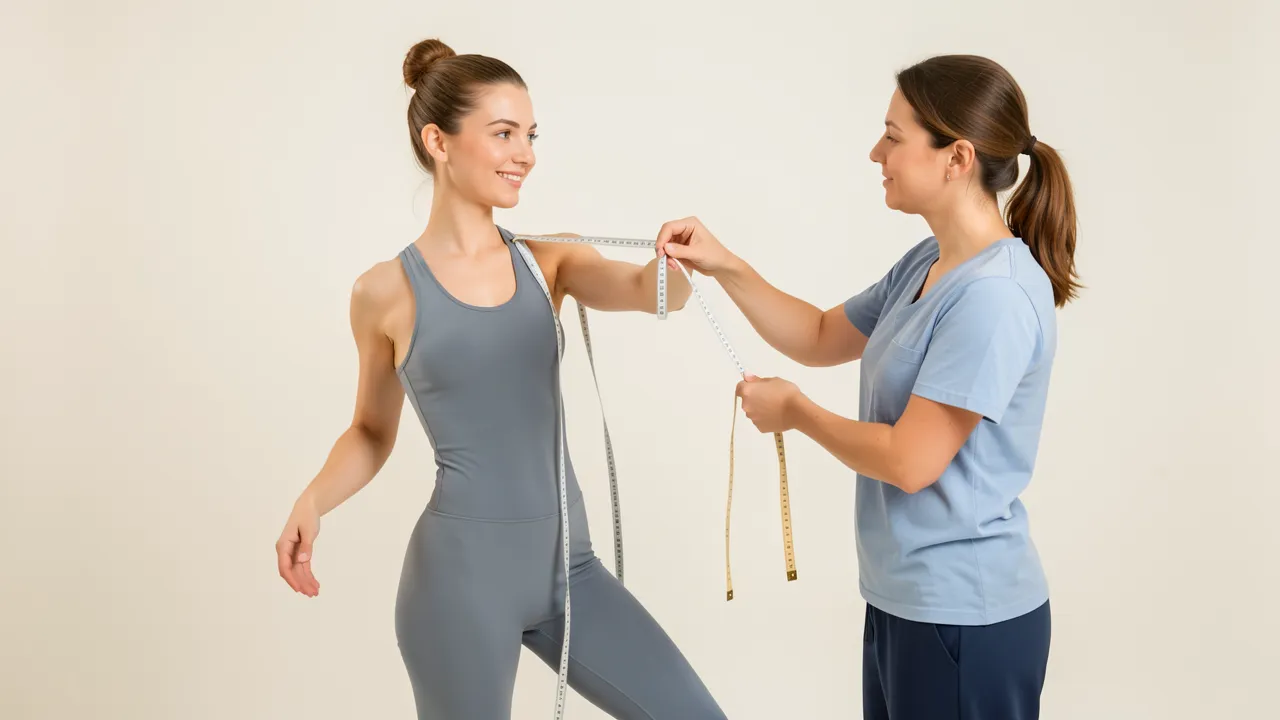
A costume may feel too loose in one position yet become restrictive as soon as you raise your arms or perform a backbend. Measure the dancer while standing naturally, then check the garment during basic movement. Include arm circles, lunges, pliés, kicks, jumps, and any choreography that places strain on the shoulders, crotch, or side seams.
For fitted costumes, record the bust, waist, hips, torso length, shoulder-to-crotch measurement, and inseam where relevant. Do not rely only on standard clothing sizes. Dancewear is designed for close contact with the body, and even a small adjustment can change how it performs.
Use How to measure for a custom dance costume as a guide for taking measurements consistently. Keep the tape measure level and snug without pulling it tight.
Mark adjustments with safety pins, tailor’s chalk, or washable fabric marker. Pins are especially useful for testing strap length or taking in side seams, because you can remove and reposition them easily. Never pin directly through delicate sequins, rhinestones, or densely embellished motifs.
Use techniques that preserve stretch and strength
For stretch fabrics, the goal is to maintain elasticity after sewing. A straight stitch can snap when the dancer moves, particularly on a leotard’s legs, shoulders, or waist. Use a narrow zigzag stitch, stretch stitch, or serger where possible. Test your stitch length and tension on a hidden seam allowance or spare fabric first.
If you are sewing on a domestic machine, a ballpoint or stretch needle helps prevent skipped stitches and snags. Polyester thread generally offers more resilience than cotton thread for active costumes.
For smoother results with lycra, mesh, and other elastic fabrics, follow How to sew stretch fabric without puckering. Avoid pulling the fabric through the machine. Let the feed dogs guide it, while gently supporting the weight of the garment.
When taking in a costume, divide the alteration equally between left and right sides. For example, if the waist needs to be reduced by 4 cm, remove 2 cm from each side seam rather than taking the full amount from one side. This keeps the design balanced and prevents the neckline or centre back from shifting.
Make common alterations with a reversible approach
Small changes often have the greatest effect. Loose shoulder straps can be shortened at the back, where the alteration is less visible. Begin by pinning the straps at the desired length, then test them with arm movements. Leave enough ease to prevent pressure on the shoulders.
A gaping neckline can sometimes be corrected with narrow elastic sewn into the seam allowance. Stretch the elastic slightly as you stitch, but avoid over-tightening it. Too much tension can create puckering or distort decorative trim.
For a loose waist, add discreet elastic at the side seams or inside the waistband. If the costume has a zip closure, preserve enough room for the zip to operate smoothly. For skirts and overlays, shortening from the waist is often safer than cutting the hem, particularly when the lower edge has a curved shape, horsehair braid, lace, or embellishment.
If more coverage is needed, add a matching mesh panel, lined insert, or nude fabric layer. Hand-baste the addition first, then inspect it under performance lighting. Nude mesh can look very different under warm stage lights than it does in a dressing room.
Secure embellishments without making the costume heavy
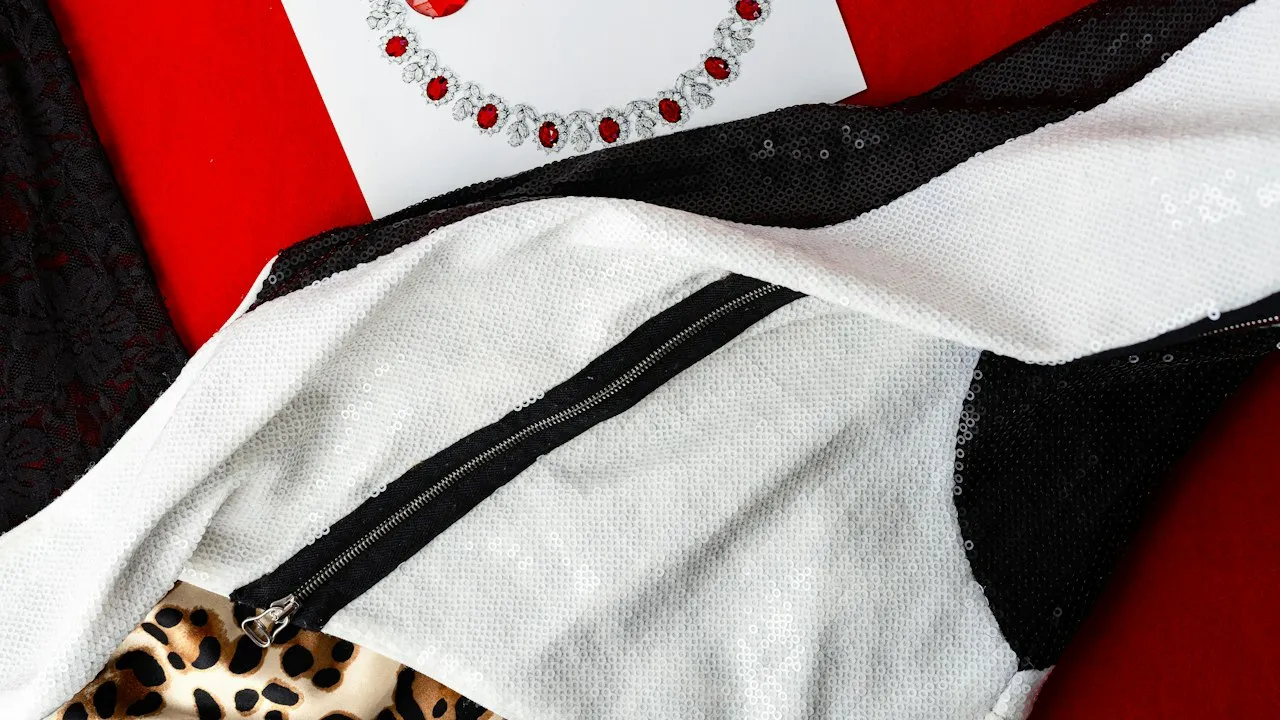
Stones, beads, fringe, and jewellery bring movement and sparkle, but they also create weight and potential weak points. Replace loose rhinestones with a suitable fabric adhesive or hand-sew embellishments through stable sections of the garment. Keep glue away from areas that must stretch heavily, such as the hips, underarms, and centre back.
For removable accessories, snaps are often more reliable than safety pins. They sit flatter and reduce the chance of catching the skin or another costume during a quick change.
If you are adding sparkle around the neckline, wrists, or hairline, Stage jewellery for dancers that moves beautifully offers useful ideas for selecting pieces that remain comfortable while dancing. Check that every attachment has smooth edges and cannot snag tights, hair, or fabric.
Test the finished costume before performance day
Once the alteration is complete, ask the dancer to wear the costume for a full rehearsal or at least several minutes of active movement. Check seams after jumps, turns, floorwork, and stretches. Look for strain lines, rolling elastic, exposed stitches, and areas where embellishments catch.
Keep a small repair kit in the costume bag, including matching thread, needles, spare hooks, safety pins, clear elastic, fabric tape, and a few replacement stones.
Before taking the costume on stage, remember these practical checks:
- Move fully in the costume, not just stand still in it.
- Reinforce high-stress seams at the shoulders, crotch, waist, and side seams.
- Keep seam allowances generous when future size changes may be needed.
- Test repairs under bright light and from a distance.
- Wash or spot-clean carefully after using adhesives or adding embellishments.
- Stop and seek professional help if the costume has fragile vintage fabric, extensive beading, or complex corsetry.
Safe alterations help your costume perform at its best
A well-altered dance costume should feel secure enough to forget about once the music begins. By measuring precisely, preserving stretch, reinforcing stress points, and rehearsing in the finished garment, you can create a polished fit that supports every movement. Careful workmanship also extends the life of a favourite costume, allowing you to reuse it with confidence for future classes, performances, and competitions.